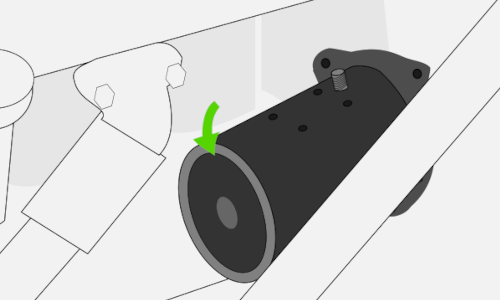
If it becomes necessary to replace your starter, these directions will walk you through the process.
Safety
Approprate eye protection for working under the car
Detach the battery ground wire to prevent a short circuit
Required parts
New or rebuilt starter
Tools
Ratchet
5/8" socket
Socket extension
Wrench
Flat screwdriver
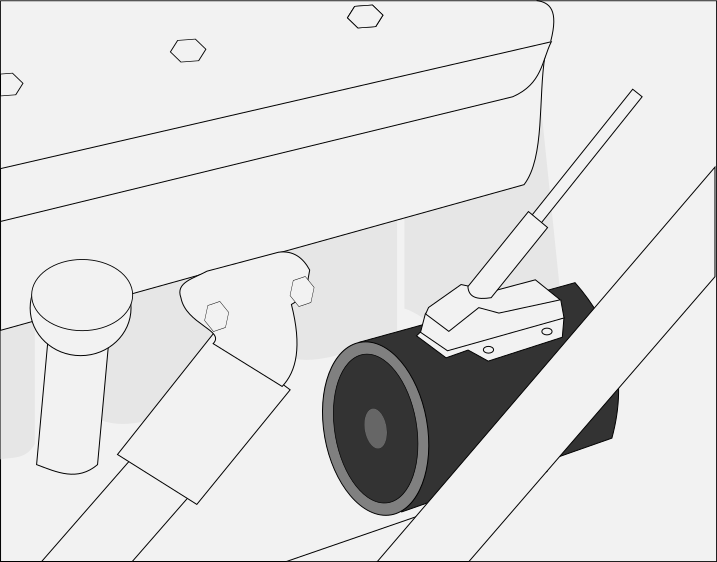
The starter is located on the left (driver's side) of the engine bay, against the firewall.
Removing the starter
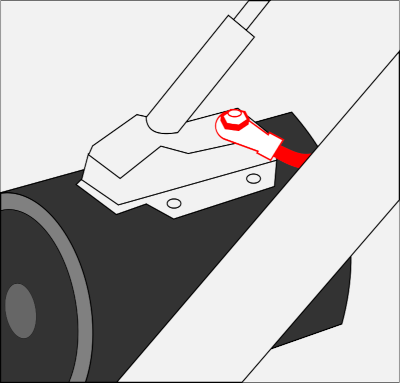
First, remove the power wire from the starter lug. Using a 3/8" wrench,
loosen and remove the nut, then remove the wire from the lug. Replace the nut on the lug to prevent loss.
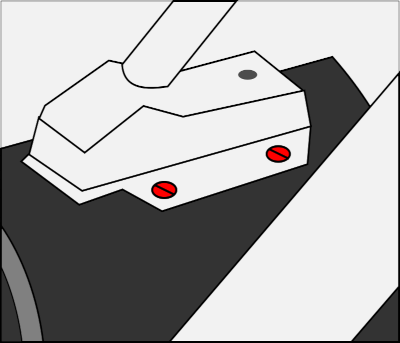
Next, remove the starter switch from the starter housing. Using a flat screwdriver,
remove the four screws fastening the switch. The switch should be left on the starter rod once
removed.
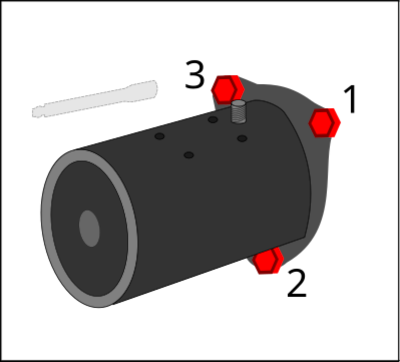
The starter is attached to the transmission housing by three 5/8" bolts.
Using the 5/8" socket and extension, loosen all three bolts.
Completely remove the outside and lower bolts (1 and 2).
Carefully support the starter and remove the inside bolt (3).
Pull the starter straight out. If the bendix catches the
starter opening, angle the front of the starter down so
that the bendix clears the ring gear.
Replacing the starter
Insert the new starter into the starter opening.
Angle the front of the starter down so
that the bendix clears the ring gear.
Install the inside bolt (3) loosely.
Install the lower bolts (1 and 2).
Using the 5/8" socket and extension, tighten all bolts.
Attach the starter switch to the starter using a flat screwdriver
Reattach the power wire to the starter lug. Using a 3/8" wrench,
tighten the nut
 Safety
 Required parts
 Tools
Tools